Using the CQ Buttons Widget in Station Master PRO
The CQ Buttons widget gives you a row of six buttons designed for contest and CQ calling operation. Each button sends a CAT command to your radio to play back a pre-recorded voice or CW message stored in the radio's internal memory keyer. You can also configure any button to repeat automatically at a set interval, which is useful for unattended CQ calling. Like all widgets in Station Master PRO, the buttons can be activated from a USB controller or keyboard using the Peripherals mapping screen, so you never have to take your hands off the mic or paddles.
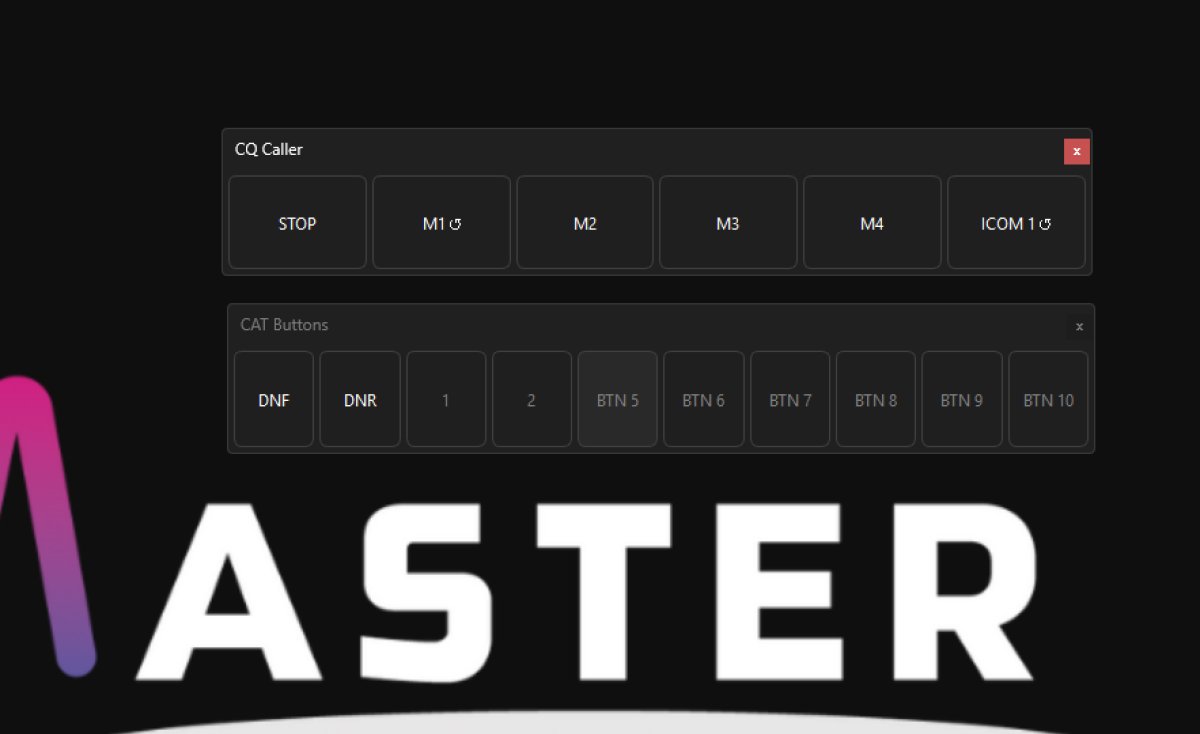
The Six Buttons
The widget shows six buttons in a row. By default they are labelled STOP, M1, M2, M3, M4, and M5, with default commands pre-filled for Yaesu radios. Each button is independent and can be relabelled and assigned any CAT command string. Buttons with no command assigned appear greyed out.
The STOP button is always the first button on the left. It has a special role: whenever a repeating message is running, pressing STOP cancels the repeat and sends the STOP command to the radio, which ends playback.
The M1 through M5 buttons correspond to your radio's message memory slots. Pressing one sends the command to start playing that memory. If the button has a repeat interval configured it will act as a toggle, sending the message and then repeatedly re-sending it at the configured interval until you press STOP or press the same button again.
Editing a Button
Right-click any button and choose Edit to open the configuration dialog. You can set the following:
Label - the text shown on the button face. Keep it short. Buttons configured with a repeat interval automatically show a small repeat symbol after the label so you can tell at a glance which buttons will auto-repeat.
Command - the CAT command string sent to the radio when the button is pressed. To send more than one command in sequence, separate them with a comma.
Repeat interval - enter a value in milliseconds between 1000 and 30000 to enable automatic repeat for that button. Leave this field blank to make the button a single-shot press. The interval should be roughly the length of the recorded message plus a short gap to allow the radio to finish transmitting before the next cycle starts.
How Repeat Mode Works
When you press a button that has a repeat interval set, the button highlights in green with bold text to show it is actively repeating. The command fires immediately on the first press and then again at each interval until you stop it.
To stop a repeating button you can press the STOP button, which sends the STOP command and clears the repeat. Alternatively pressing the same active repeat button a second time also stops the repeat and sends the STOP command. If you press a different repeat-enabled button while one is already running, the first one stops and the STOP command fires before the new one starts.
The STOP button is always kept active regardless of the cooldown lock applied to the M buttons.
Radio Compatibility Note
For message playback to work your radio typically needs to be in Break-in mode so that it can automatically key the transmitter when playing a stored message. The exact commands vary by manufacturer and model. Details for Yaesu and Icom are provided in the command reference section below.
Command Reference
The following tables show the commands to enter for each button for the two most common radio families. Separate multiple commands with a comma.
Yaesu Radios
Yaesu radios use plain text CAT commands. Each command must end with a semicolon.
STOP button Command: PB00;,TX0;
M1 button Start Command: PB01;
M2 button Start Command: PB02;
M3 button Start Command: PB03;
M4 button Start Command: PB04;
M5 button Start Command: PB05;
PB00 stops message playback and TX0 drops the transmitter. These are combined on the STOP button so that pressing it always cleanly ends a transmission.
Icom IC-7300 (CI-V)
Icom radios use a binary protocol called CI-V rather than plain text strings. Commands are entered as hexadecimal strings with no spaces and no semicolon at the end.
The number 94 in the commands below is the default CI-V address of the IC-7300 Mark 1. If you are using a different Icom model, or if you have changed the CI-V address in your radio's menu, you must replace 94 with the correct hex address for your radio. The CI-V address can be found in your radio's Set menu under CI-V.
STOP button Command: FEFE94E0280000FD
M1 button Start Command: FEFE94E0280001FD
M2 button Start Command: FEFE94E0280002FD
M3 button Start Command: FEFE94E0280003FD
M4 button Start Command: FEFE94E0280004FD
M5 button Start Command: FEFE94E0280005FD
To restart a message cleanly you can chain a stop and start together using a comma. For example to stop any current playback and immediately start memory one, enter FEFE94E0280000FD,FEFE94E0280001FD in the command field.
Using Buttons with USB Controllers
All six CQ buttons including STOP can be triggered from a physical USB or HID device such as a foot pedal, game controller, or programmable keyboard. Use the Peripherals screen in Settings to map your hardware buttons to CQ Stop and CQ Button 1 through CQ Button 5. Once mapped, pressing the physical button has exactly the same effect as clicking on screen.
Tips
Set the repeat interval slightly longer than the actual playback time of the recording. Too short an interval will cause the next trigger to fire before the previous one has finished, which can confuse the radio.
Use a foot pedal mapped to the STOP button so you can halt a CQ loop hands-free when a station calls you.
If you are using an Icom radio other than the IC-7300 Mark 1, check the CI-V address in your radio's menu and update the 94 portion of each command string accordingly before testing.
If your Yaesu commands are not working, confirm that your radio is in the correct voice or keyer mode and that the memory slots contain recordings.